
Wellion MICRO-PUMP Infusion sets
for insulin infusion with the Wellion MICRO-PUMP
6mm / 9mm
Wellion MICRO-PUMP infusion sets
for the treatment of diabetes when short-term or long-term insulin pump therapy is required
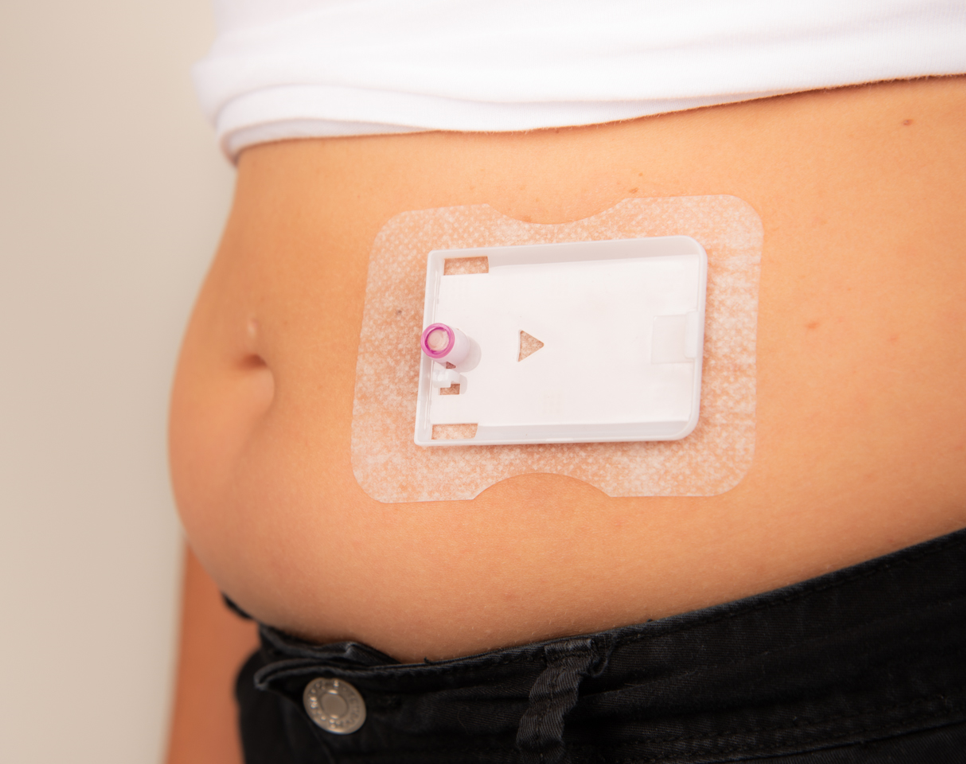
Subcutaneous infusion of insulin with the Wellion MICRO-PUMP
The Wellion MICRO-PUMP infusion sets are used with the Wellion MICRO-PUMP insulin pump to infuse insulin. They are suitable for use at home as well as for use by healthcare professionals.
The Infusion set
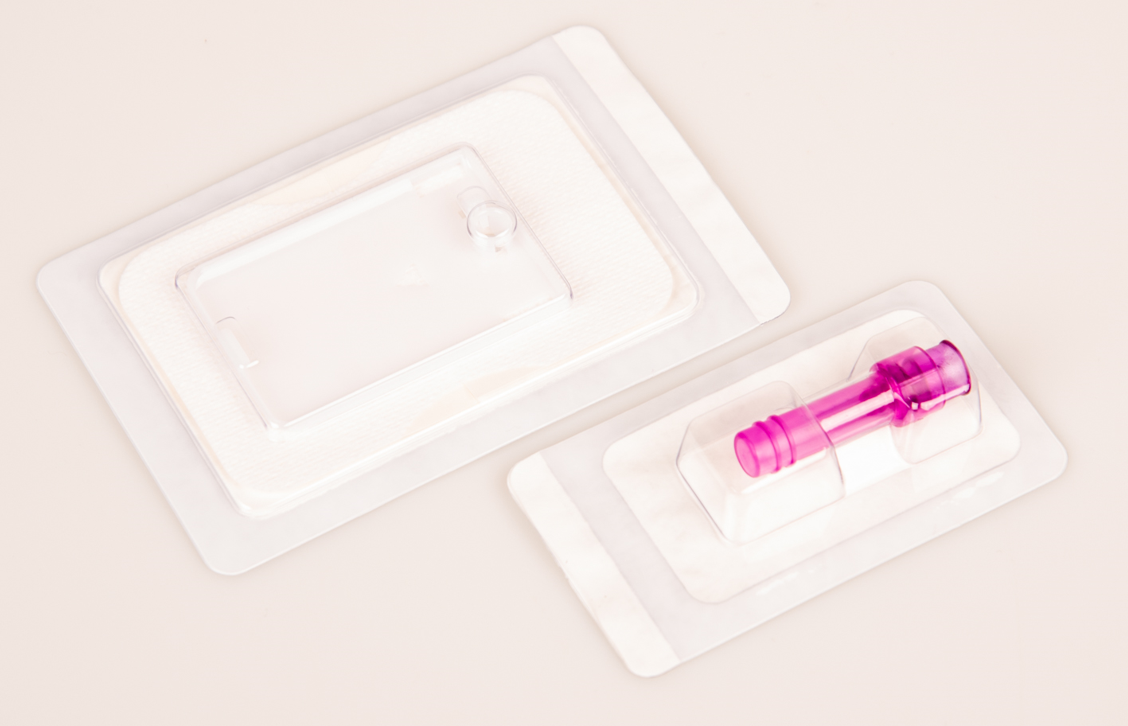
The Wellion MICRO-PUMP Infusion Set is available in 6mm and 9mm, and includes a Teflon cannula and pump base.
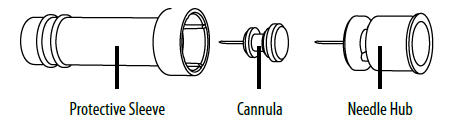
The Teflon cannula contains a protective sheath, a soft cannula and a needle holder.
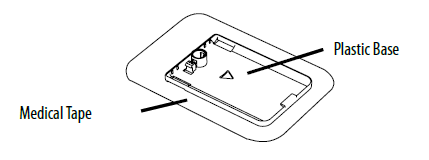
The pump base consists of a plastic base and a medical adhesive foil.

Usage
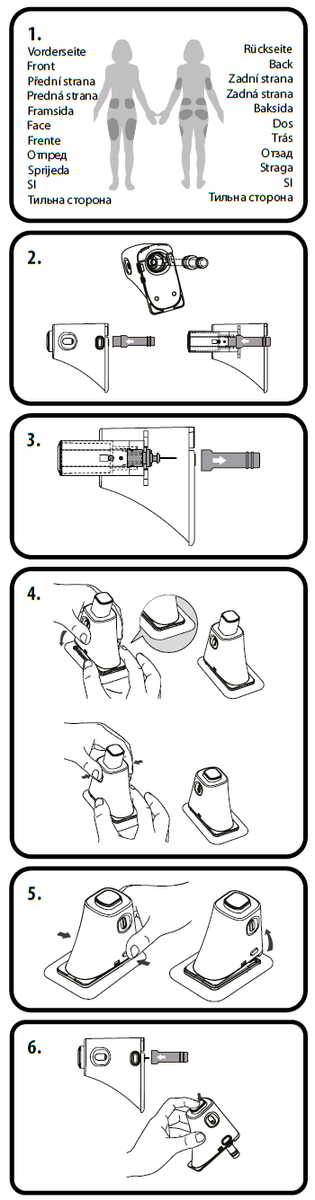
First wash your hands and the infusion site and let everything dry. Remove the pump base from its packaging and place it on one of the suggested areas shown in Fig. 1 (abdomen, upper arm, thigh, lower back, etc.). Avoid positions that may rub against other items such as belts, waistbands or clothing. Also make sure that your infusion site is at least 2-3cm away from your navel. Do not use the abdomen if you are late in pregnancy.
Open the cannula pack as indicated on the packaging. Push the cannula assembly into the cannula inserter as shown in Figure 2 until the cannula assembly is in the cocked position and you hear two “click” sounds. You should see that the cannula assembly is connected firmly to the cannula inserter and the inserter is held firmly in the cocked position.
Remove the protective sleeve as shown in Fig 3.
Align the front end of the inserter to the base as shown in Figure 4. Press down in the direction of the arrow until you hear a click. Now press the two opposing release buttons on inserter at the same time and the cannula will be inserted into the base. Note: When pressing the release button, the other hand must be pressed against the bottom of the inserter and the baseplate cannot be lifted.
Release the inserter from the pump base by pressing the button near the bottom of the inserter as shown in Figure 5. If the introducer needle or needle hub remains on the cannula, carefully remove it from the infusion site. Place the protective sleeve back onto the cannula assembly.
If the needle remains in the inserter, place the protective sleeve back onto the needle hub. Firmly push the top of the inserter to eject the needle hub (Fig 6) and dispose of properly.
Useful information
A cannula implanted in the correct position should not cause pain. Therefore, check regularly that it is in the correct position. The Teflon cannula must always be fully implanted to receive 100% of the injected insulin.
Replace the infusion set every 48-72 hours according to your doctor's instructions.
Properly dispose of the insertion needle (needle holder) in a medical sharps container.
Cannot be used for storage or infusion of blood or blood products.
Use only with U-100 insulin